Have you ever been to Just Something I Made?
Cathe does some really cute crafts
{lots of goodies with paper}
and she provides adorable downloads.
Yesterday she posted about covering her

It was adorable.
And her drab day-planner that she covered?
It's the same one I've been toting around
uncovered
for four months now.
It was an IHTDIN project.
(That's technical terms for I Have To Do It Now
also known as I will not clean the toilets until this is complete!)
I went straight to my book shelf to find a suitable book.
This is when I learned I really love all my books.
What was a girl in need of instant gratification to do?
I sewed one!

You need:
an outer fabric
liner fabric
heavy duty stabilizer
decorations
pocket fabric, if you want pockets.
Start by cutting your main outside fabric.


I cut the top and bottom each about 3/4 " larger than the book.
I cut the each of the sides about 1 1/2" larger.
Cut a liner piece the same size.
Cut your heavy duty interfacing to the size of your planner.
Cut two out (one for the front, one for the back)

Then sew on your decorations to the outside fabric.
Be creative!
You could monogram your name
or print your kids' picture onto some fabric and add that
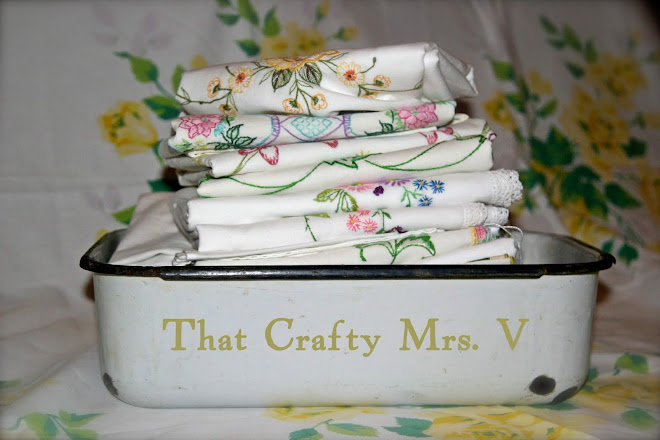
I had a vintage napkin I sewed on
and then cut it to size.


I also added some ribbon.
Fold the outside in half and slipped your planner in.

This way you know where to put your pockets.
Remember to close your book all the way before marking-
it uses more fabric closed than when it's open.
Cut out your pockets and hem the top.
I used the other side of the napkin and used
the existing hem.
Then pin it in place
and sew it on.

put the lining on top of it face down.
Right sides of the fabric should be together.
Pin and sew around the edges
but leave one entire edge open.

Topstitch the left edge (the short side).
Lay your book in it again and pin the finished side
where it should go on your book.


Fold the extra in on itself so that it is the correct size.
Press all your creases but don't sew yet.


Open it all back up and slide you interfacing in.


be as close to the crease as possible.
(That was when we sew around the edge we'll be sure to sew the
interfacing down, too)

Again make sure it is close to the other crease.
Pin and topstitch the right edge.

Pin and topstitch all the way around the cover.

You're Done!


Clear as mud.
Confused? Email Me (:
If you make one
I'd love to see pics!

That is absolutely GORGEOUS!!! Ohmigosh, you and I are so alike, when I have to do something, I have to do it NOW! (I have 3 teenagers, they can clean the toilets, LOL.)
ReplyDeleteIt is very hard to sacrifice a good book. The one I used actually had very smelly pages. You know, a book that was not stored well. The cover smells fine though and the title was perfect.
Thank you so much for your kind words and for sharing your gorgeous project and wonderful tutorial!
I love JSIM! And your fabric covered journal is sooooo adorable! I love that you guys can make something right away...I just think about it, and think about it, and think about it until I have 25 things on my to-make list...and now these journals are on it too!!!
ReplyDeleteLove it! Gorgeous with that Nicey Jane fabric and the beautiful trim! I wouldn't want to tuck it in a purse now - just find a whole bunch of excuses to pencil appointments and to-do's :)
ReplyDeleteThat is so beautiful. I love your fabric choices. Great job.
ReplyDeleteStunning! Am definitely going to have to give it a go!
ReplyDeleteYou have a great artist in yourself. You have made it really awesome. Thank you for sharing a very valuable information to us. I will definitely to create for me as i'm not much creative I know it will not look as cool as you had created. I'll sure update this kind of stuff in my collection soon so you can even earn money for your creativity.
ReplyDelete